Blog
Curly Hair Guide: Humidity-Proof Styling
#FrizzFighting
Waves and curls can be wild, free-spirited, and full of character—until humidity comes into play. For many curly-haired individuals, the mere mention of a muggy day can evoke images of frizzy hair defying all styling efforts. If you’ve been on the constant quest for a ‘no-frizz’ solution, this article is your next move in the humidity-proof battle plan!
From understanding the science behind frizz to mastering the art of product layering, we’ll cover every aspect of achieving long-lasting, effortlessly beautiful curls. Get ready to transform troublesome tresses into humidity-defying locks of your dreams. Read on for our Curly Hair Guide: Humidity-Proof Styling.

The Science of Frizz: Why Does Humidity Wreak Havoc on Curls?
Before we jump into the ‘how,’ it’s crucial to grasp the ‘why.’ Frizz isn’t just a bad hair day—it’s physics at work. Hair, particularly curly hair, is drier because the natural oils produced by the scalp struggle to travel down the spiral strands. When high humidity levels come into play, the extra moisture in the air disrupts the hydrogen bonds that hold the hair’s protein structure together, causing unpredictable swelling and, in turn, frizz.
- Compounded by the natural shape of curls that create more surface area, it’s no wonder the cuticle layer of the hair becomes more vulnerable to moisture absorption. The goal, therefore, is not to straighten the curls but to create a barrier that locks out excess humidity while maintaining the health and shape of your unique curl pattern.
Step 1: Wash Day Wisdom
The foundation of any great style begins with a well-executed wash day routine.
Finding the Right Shampoo and Conditioner
Start by choosing products free from harsh sulfates and silicones. Sulfate-free shampoos maintain the natural oils in your hair, which act as your first line of defense against frizz. Look for a moisturizing conditioner that can help prepare your curls to combat high humidity by keeping them hydrated.
Techniques Matter
How you apply your products is as important as the products themselves. Always detangle your hair gently while the conditioner is still in, using a wide-tooth comb or your fingers. This minimizes breakage and prepares your hair for the next step, styling without snags.
Step 2: Deep Conditioning and the Power of Protein
Every curly hair routine can benefit from a deep conditioning session now and then. Look for a deep conditioner rich in emollients and humectants that draw moisture into the hair, such as shea butter and vegetable glycerin.
If your hair needs an extra boost, consider protein treatments as they strengthen the hair shaft, making it less likely to swell with humidity. However, be cautious not to overload your hair with protein, as this can lead to excessive dryness.
Step 3: The Right Styling Products
Product layering is akin to creating the perfect canvas for a work of art. Each layer should fulfill a specific function—hydration, definition, and protection.
Layer 1: The Leave-In Conditioner
The first layer is all about moisture. A leave-in conditioner that’s not too heavy should be applied to soaking wet hair to lock in hydration.
Layer 2: Curl Cream or Custard
This layer focuses on defining the curls. Choose a cream or custard with enough hold but doesn’t stiffen the hair. A good rule of thumb is to apply it section by section, working it through your hair from root to tip.
Layer 3: Sealer and Protector
Finish with a sealing oil or a gel to lock everything in place and shield your curls from the humidity outside. Traditional anti-humectants like oils containing silicones can work well for some, but others find success with film-forming humectants like aloe vera gel that create a flexible barrier.
Step 4: The Right Technique
How you dry your hair can significantly impact frizz levels. Air-drying is ideal for keeping hair’s natural moisture balance and shape. However, when time is a factor, a diffuser can be your best friend as it helps maintain the curl pattern while reducing the force of air that can cause frizz.
Step 5: Preserving Your Style
You’ve put in the effort to style your hair with care, so make it last! Preserve your curls by sleeping on a satin or silk pillowcase or wrapping your hair with a silk scarf to reduce the rubbing that can cause frizz.
On subsequent days, a spritz of water mixed with a bit of your favorite conditioner can help reactivate your product and refresh your curls without starting from scratch.
Step 6: The Mental Health Component
Finally, remember that beauty isn’t all about appearances. Confidence truly defines your style. So, learn to love and celebrate your curls, frizz and all. This will make you feel more empowered. Plus, you’ll be less bothered by occasional frizz. After all, it’s part of what makes your hair uniquely yours.
Video – Manes by Mell
Conclusion
The fight against frizz isn’t one-size-fits-all. It requires patience, experimentation, and learning from successes and setbacks. So, build a styling routine infused with knowledge. This empowers you to tackle even the most humid days with heads turned and curls un-frizzed.
Moreover, seek personalized advice from the curl community. Share your experiences, learn from others, and remember: solidarity is key. With this Curly Hair Guide: Humidity-Proof Styling, as your ally — go forth confidently. Your curls and the weather are no longer fated adversaries, but harmonious collaborators in your personal style adventure.
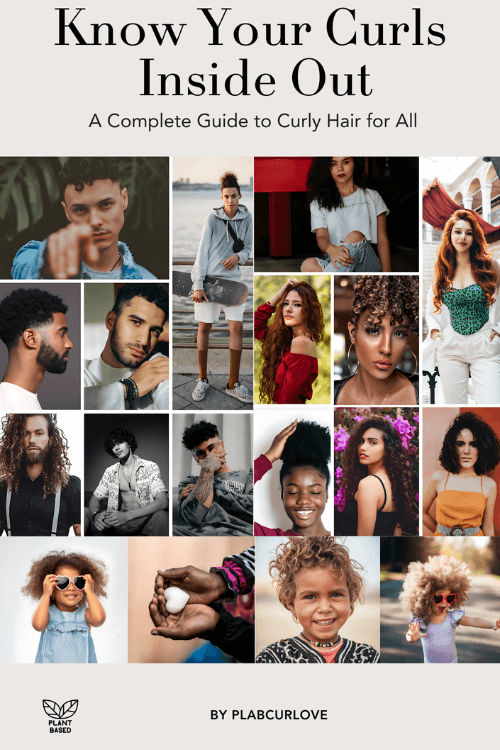
Ultimate Curly Hair Guide!

Transform your curls today with the ultimate guide to perfect curls—get your copy now! 🌀📚✨
Buy Now